

Into this:

The guide is found on page 315 of Mastering the Art of French Cooking, Volume 1.
So, if you got that book, follow along!
But, first, notice that the carrots in the top picture have their tops! Lesson - these type of carrots usually have more flavor than the ones in the bags.
The first thing that the book calls for is lardons, something that is just not found that easily. The book says to take some slab bacon and simmer it for 10 minutes in water. This takes the smokey flavor out of it. (If the smokey flavor is left in, it would overwhelm everything.)
Well, first, good luck with finding slab bacon.
Ok, bacon is pork belly, a bunch of pork fat with some streaks of pork meat, that is cured (basically desiccated with salt and spices and nitrate) and then smoked. (BTW - nitrate is added to ensure that botulism is not formed during the smoking process.)
So, what about some other really fatty pork that has not been smoked?
Enter pancetta. Pancetta is Italian bacon - salt cured and seasoned with nutmeg, fennel, peppercorns, other peppers and garlic. It ain't smoked! But, again, if you can get it in slab form, good for you!
So, how about another part of a pig? Like, the jowls! Or, at the deli it could be La Quercia Guanciale, or, Italian pork jowl bacon. Found that!
Cutting the rind off and cutting into the lardons - sticks that are about 1/4 inch thick and 1-1/2 inches long - it looks like:

Fabulous. (That is the rind of the jowl on the right.)
Now for the main cut of meat. Here is a member of our butcher team, one of the guys that works with Chris, cutting a chunk off a grass-fed rump roast:

Also , highly recommended to get to know your butcher! They know meat. In fact, I was chatting with Chris about cured but not smoked bacon. He challenged me to cure one myself! So, here is the pork belly (actually a wild boar belly, about four pounds) that I purchased from him after I removed the rind (freezing that in strips to add flavor to stuff later), the membrane and some cartilage:

The rind is to the upper left, the membrane in the middle and the cartilage in the lower left. Then, I rubbed 1/4 cup of kosher salt
(not sea salt - it is too coarse, nor table salt - it is too fine, BTW - always use iodine free salts when cooking. Iodine could give a metallic taste to the food.)
along with a bunch of coarsely cracked black peppercorns and a 1/2 tsp or so of rosemary that has been severely bruised using a mortar and pedestal. The future cured bacon (but not smoked) now looks like:

This is now covered and in the refrigerator, to be checked everyday for at least six days. Every time it is checked, the liquid that comes out of the pork belly (notice that this is a marinating plastic container that has the ridges on the bottom that enables the meat to stay out of the juices that are coming out in the desiccation process) is drained off and a wee bit of more salt is rubbed all over the meat. Don't use a metal container! The salt and metal just don't agree with each other.
Ok - next time this dish is made, homemade lardons will be used! Once this home-cured bacon is ready, it will be sliced into 1-1/2 inch slabs and frozen.
So, back to the process of making Boeuf Bourguignon.
Gotta get all the ingredients ready. The rump roast is cut into 2 inch cubes:

Then, each piece is dried with paper towel. The meat must be dry!! If it ain't dry, it will be steamed rather than browned when placed in the skillet.
The herb bouquet is made for the small onions (fresh bay leaves, some thyme and parsley in a washed cheesecloth that is then tied up).

All those tiny onions are peeled. (Note to self: next time start with onions that are about 1-1/2 inch in diameter. These were just too small!)
To peel these, plop them into boiling water for one minute. Then use a slotted spoon to retrieve them, slice of the tops and bottoms and the skins should come right off. Also, cut a cross into the bottoms, as much as 3/8 inch deep, to help prevent the onions from blowing up when they are braised.

The tied up herb bouquet is next to the bowl of onions since it will be used with the onions.
All the mushrooms are washed and quartered. The 2 TB of flour is measured into a small bowl. A medium size onion is sliced and a large carrot is sliced up. the 2 cloves of garlic are mashed and placed in a bowl with the 1/2 tsp of thyme and a crumbled up bay leaf.
If you are keeping track in the book, I do not use the 1 Tb tomato paste - it is an optional ingredient and, one of the folks that will obtain pleasure from this dish cannot handle the acidity of processed tomatoes.
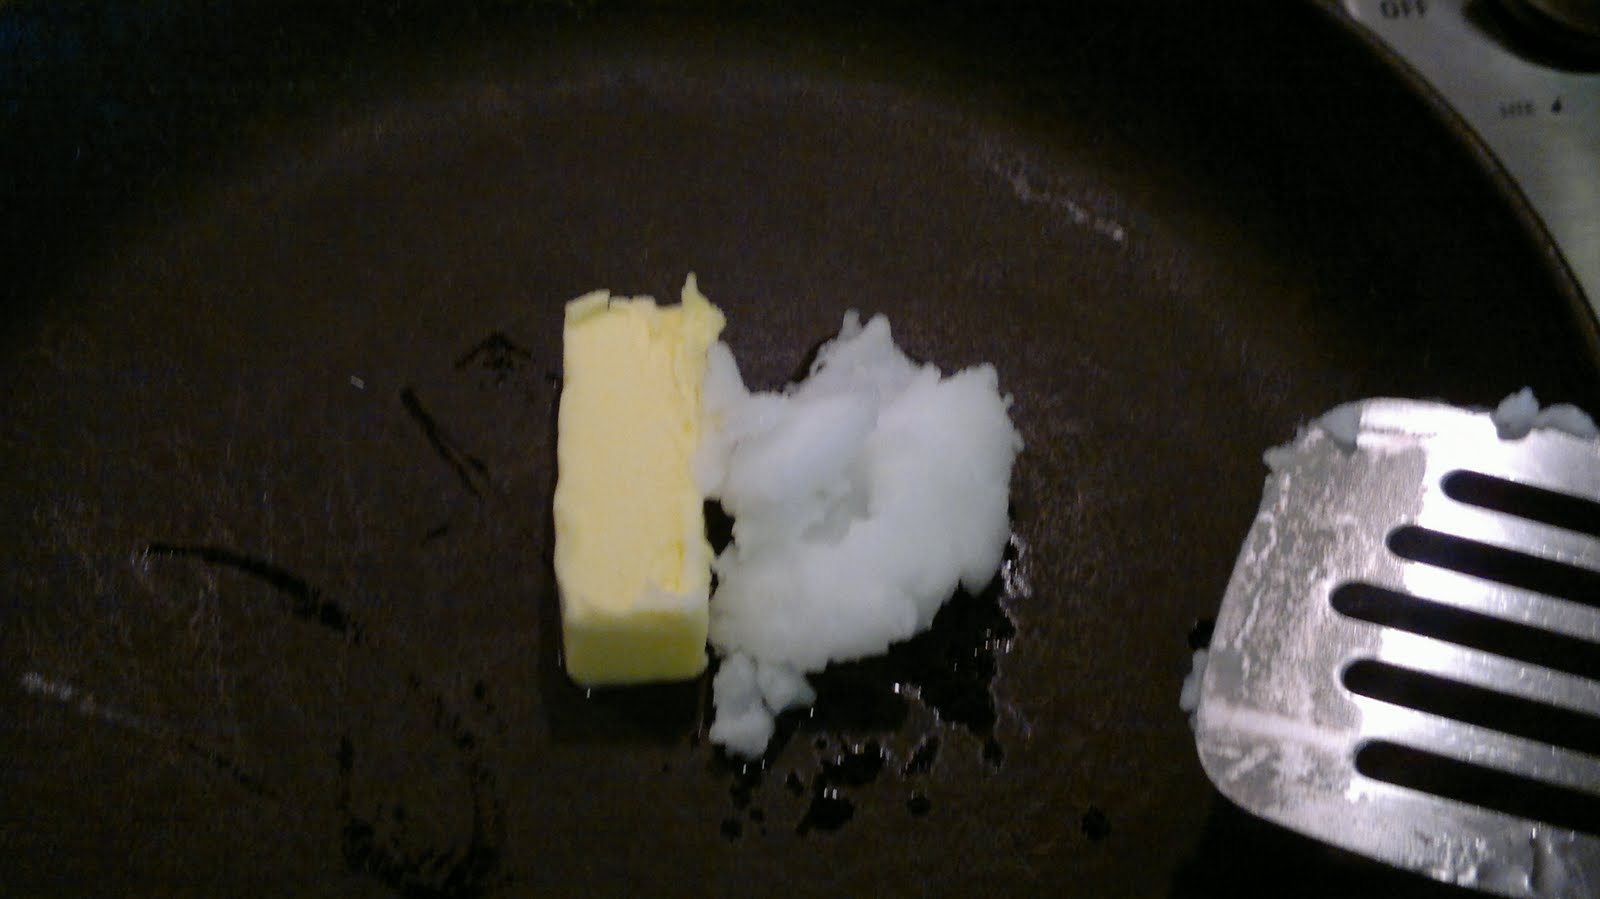
Into the skillet goes some butter (btw - always use unsalted butter when cooking) and coconut oil:
Then, when it is nice and foamy and bubbly, like this:

in goes the lardons to brown. Once they are brown (takes up to 5 minutes sometimes although the go-by is 2 - 3 minutes) out they go into a big ceramic bowl.
Then the dried cubes of rump roast go in, a few pieces at a time, until they are brown on all sides. The browned ones go into that ceramic bowl with the browned lardons.
Now, preheat the oven, with a rack at the lower third and a rack in the middle, to 450 F.
After the meat has been browned, in goes the onion and carrots and they are browned. This can take up to 10 minutes.
Now all the lardons, meat, onion and carrots go into a dutch oven. Salt and pepper (1 tsp or so of salt and about 1/4 tsp of pepper) are added and the mixture is tossed.
Then dust the top of the mixture with the 2 Tb of flour and toss it again.
Then into the 450 F oven, on the middle rack, for four minutes, uncovered. Toss the meat and return to oven for four more minutes. The goal is to cook the flour - it should brown.
Then, out of the oven. Move that middle rack out of the way as the next time the dutch oven goes in, it goes on the lower third. Turn the temperature down to 325 F.
Add the full bottle of the wine. This should be a young, red table wine. The goal is to add flavor. Then, add some beef stock - just enough to cover the meat. Then add that small bowl of mashed garlic, thyme and bay leaf. Toss the rind from the bacon in there as well for added flavor.
Now cover the casserole.
Set it in the over and do not touch for 3 hours.
In the meantime - on to the onions and mushrooms!
The onions are first browned in a skillet. So, first melt some butter and coconut oil and when it is ready (see photo above), add the onions:

Lesson Learned - this skillet is too big for this! should be a 10-incher or smaller!
Shake the frying pan to roll the onions around. The goal is to evenly brown them. This can take up to 10 minutes. If the onions were not properly peeled, the outer peel will be shed during this browning process. These peels can be easily removed from the pan:

Once browned, pour in enough beef stock to come halfway up the onions. The onions are going to be braised in the beef stock. Toss in the herb bouquet and cover. Reduce heat!! Let it simmer for 40 minutes or so.
Once the onions are done, place them in a bowl and cover. Then, onto the mushrooms!
The washed, dried and quartered mushrooms (again, dried - the objective is to brown, not steam, the mushrooms!) now have our full attention.
Melt some butter and coconut oil in the skillet again. Then, in go the mushrooms:

Toss the mushrooms and shake the pan during the browning process. The whole process can take 5 to 10 minutes, depending how brown you want them. This is a mixture of three different types of mushrooms, I like variety.
Once the mushrooms are done, place them in the covered bowl with the onions.
Now there is some time left to clean up all the pots and pans and dishes while the casserole continues to cook in the oven.
Also, heat up water to boil some fingerling potatoes. In a separate pot, heat up just a wee bit of water to braise some carrots.
Once the three hours are up, test the meat - it should be tender.
Remove each piece of meat and lardon and place in the big ceramic bowl. Pour the contents of the dutch oven through a strainer into a large enough pot to hold the juices. and skim off the fat.
Then, boil the heck out the strained juice:

The objective is to reduce it down to about 2-1/2 cups. Skim off any foam that forms on the top. Once it has been reduced, it should coat a spoon pretty darn easily.
While the sauce is reducing down, boil the fingerling potatoes until tender, about 20 minutes, in an uncovered pot. Also, braise sliced carrots (I like large chunks of carrots that are sliced on an angle), about 15 minutes, in a covered pot.
Once the carrots are tender, pour out any remaining water. Add a Tablespoon of butter to the pot with the carrots along with a couple of Tablespoons of brown sugar to glaze them.
Now, everything but the potatoes and carrots can be made a day ahead of time. If so, combine everything into the dutch oven, allow it to cool, cover it and place it in the refrigerator. Then, take it out of the refrigerator about an hour before serving. About 30 minutes before serving, bring to a simmer (that should take about 20 minutes) and simmer for 10 minutes. The potatoes and carrots can be made at the same time.
You can arrange the potatoes along the edge of a deep dish, place all the meat in the middle, pour on some of the sauce, place the rest of the sauce in a gravy bowl, place the glazed carrots on top of the meat and garnish with chopped parsley.
Enjoy this with a good, full body red wine, such as:

I bet Revival Market in The Heights (Houston) has lardon. If not on hand, they will definitely make it for you :)
ReplyDeleteRufus - thanks! Already made some of my own from wild boar belly.
ReplyDelete